What's inside?

- A fullstack app with Remix, Vite, shadcn/ui, and Supabase
- Complete authentication flow with Supabase
- Signup with email, Google, Github
- Login with email, Google, Github
- Forgot password flow
- Logout
- Protected routes
- A beautiful and professional dashboard layout, credit to shadcn-ui-sidebar
- A documentation page, configurable to point to your own markdown files in a GitHub repo.
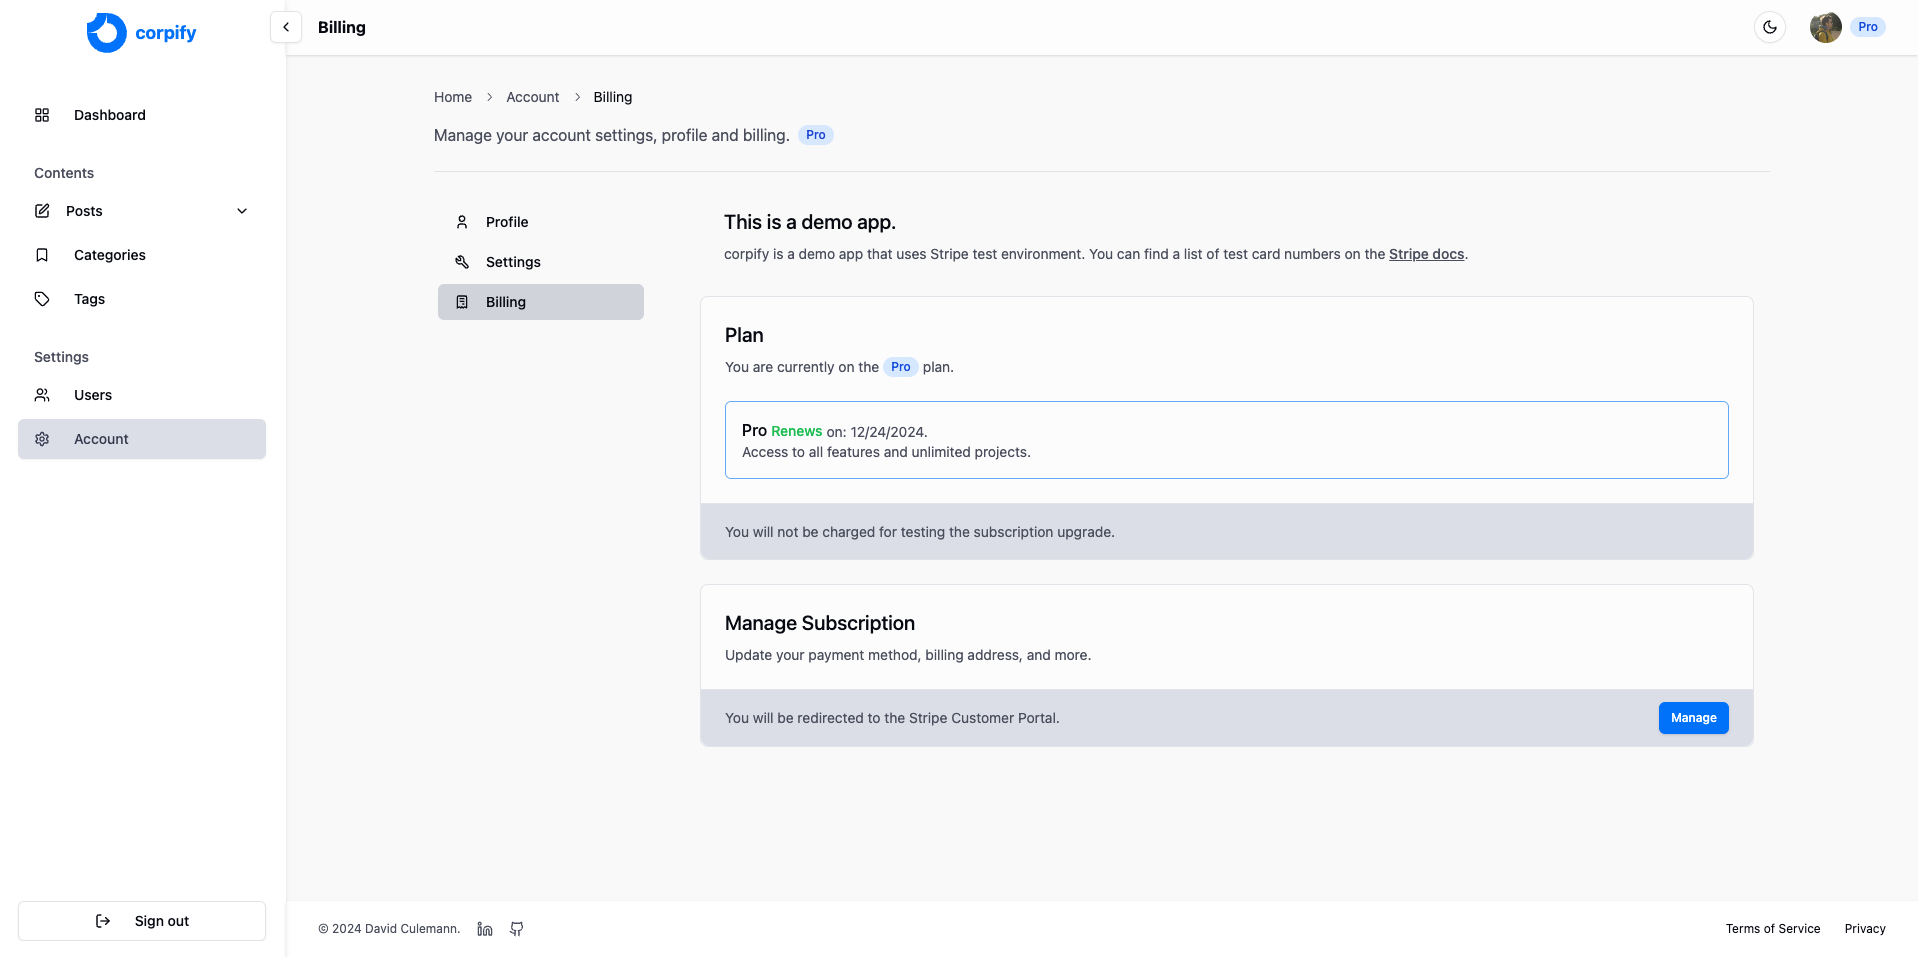
- A customisable pricing page with Stripe integration.
- Easily configurable for your own project
Setup
- Clone the repo:
git clone git@github.com:davidculemann/remix-shadcn-boilerplate.git- Install dependencies:
pnpm installSupabase

-
Create a new project on Supabase
-
enter your Supabase URL and key in .env:
VITE_SUPABASE_URL=https://<your_supabase_url>.supabase.co
VITE_SUPABASE_KEY=<your_supabase_key>- generate typescript types for your Supabase tables:
supabase gen types typescript --project-id opcoizjyzpdodlwaoppd > db_types.ts- Supabase aggressively rate limits your email sending on the free plan, so you'll need to use a third-party email service. I recommend Resend for this. Add the supabase integration here: https://resend.com/settings/integrations.
Development
- Seed the database:
pnpm run seed- Run the Vite dev server:
npm run devStripe

In order to use Stripe Subscriptions and seed the database, you'll need to create a Stripe Account and get the secret key from the Stripe Dashboard.
- Create a Stripe Account or use an existing one.
- Visit API Keys section and copy the Secret key.
- Paste your secret key into .env file as STRIPE_SECRET_KEY.
Stripe Webhook
- In order to start receiving Stripe Events to our Webhook Endpoint, you need to install the Stripe CLI. Once installed run the following command in your console. (Make sure you're in the root of your project):
stripe listen --forward-to localhost:3000/api/webhookThis should give you a Webhook Secret Key. Copy and paste it into your .env file as STRIPE_WEBHOOK_ENDPOINT.
[!IMPORTANT] This command should be running in your console while developing, especially when testing or handling Stripe Events.
- Then, you should run the seed command to populate your stripe store with products and prices:
pnpm run seedDeployment
With Vercel
- First, install the Vercel CLI:
npm install -g vercel- Then deploy your app:
vercelManual Deployment
- First, build your app for production:
npm run build- Setup your environment:
NODE_ENV='production'- Then run the app in production mode:
npm startNow you'll need to pick a host to deploy it to.
Stack
Tooling
Credits
- shadcn-ui-sidebar: Professional yet beautiful dashboard layout built with shadcn, adapted from Next-js.
- remix-docs-template: A powerful and customisable template for Remix documentation sites.
- pricing-page-shadcn: A pricing page built with shadcn, adapted from Next-js.
- shadcn-admin: Very useful layouts for settings screens.
- remix-saas: The best Remix starter I've seen so far, took some inspiration from the landing page and stripe implementation, adapated from Prisma to Supabase.
